Steps for Successful Plastic Injection Molding
Plastic injection molding is an effective process that is most successful with a little pre-planning. Before you jump straight to the design and production side of your new idea, take the time to consider all of the steps needed:
Step 1: Determine the Moldability
Before you can move forward, you have to determine whether or not injection molding will work for the parts you are trying to make.
Step 2: Find a Plastic that Will Work
Based on the end product and its use, determine the best plastic resin to use.
Step 3: Determine the Shrinkage
When plastic is injected into the mold, it immediately begins to cool causing a certain amount of shrinkage. This amount needs to be determined ahead of time so that the mold can be built with it in mind, resulting in the precise size of the end product you desire.
Step 4: Determine the Gates
Gates in injection molding are the areas in which the plastic is poured into the mold. You don’t want it to affect the final product, but do want it to maximize a good injection.
Step 5: Decide on Quantity
The quantity of production parts that you need to make with your mold will determine the materials that are used in making the mold. The larger the production runs, the higher quality the mold will need to be.
Step 6: Identify the Mold Size
The size of your final product determines the size of the mold that will be needed to produce it and allow for shrinkage.
Step 7: Determine the Press Size
The size of the mold will determine the size of the press that is needed to hold the mold during the plastic injection process.
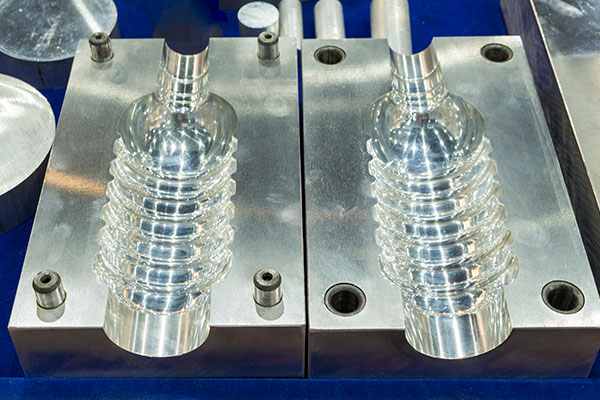
Step 8: Design the Mold
With all of the above steps and decisions now made, you can use that knowledge as you design the mold for your product.
Step 9: Build the Mold
After your design is complete, and knowing the size of the press you will use, you can build your mold to meet the specifications you have set forth.
Step 10: Debug the Mold
After the initial run of the plastic injection, your first prototype needs to be inspected. During this process, you will check for errors in measuring as well as any unexpected problems that occurred. If any are found, you can go back to the building process to correct them.
Step 11: Quality Control
As the mold is put into production, quality checks should be routinely run to make sure that the product is consistent and that the mold is holding up well over time.
Before any job can begin, you need to determine what your end needs are. Approaching your project in a methodical way, like above, ensures that you are putting your best information into every step and will result in a better end product. Contact us today to get started on your next big idea. If you’re still trying to decide whether injection molding or blow molding is best for your needs, we can help with that as well.
0 Comments
Leave a reply
You must be logged in to post a comment.